How to Diagnose an Air Conditioner — A Step-by-Step Walkthrough
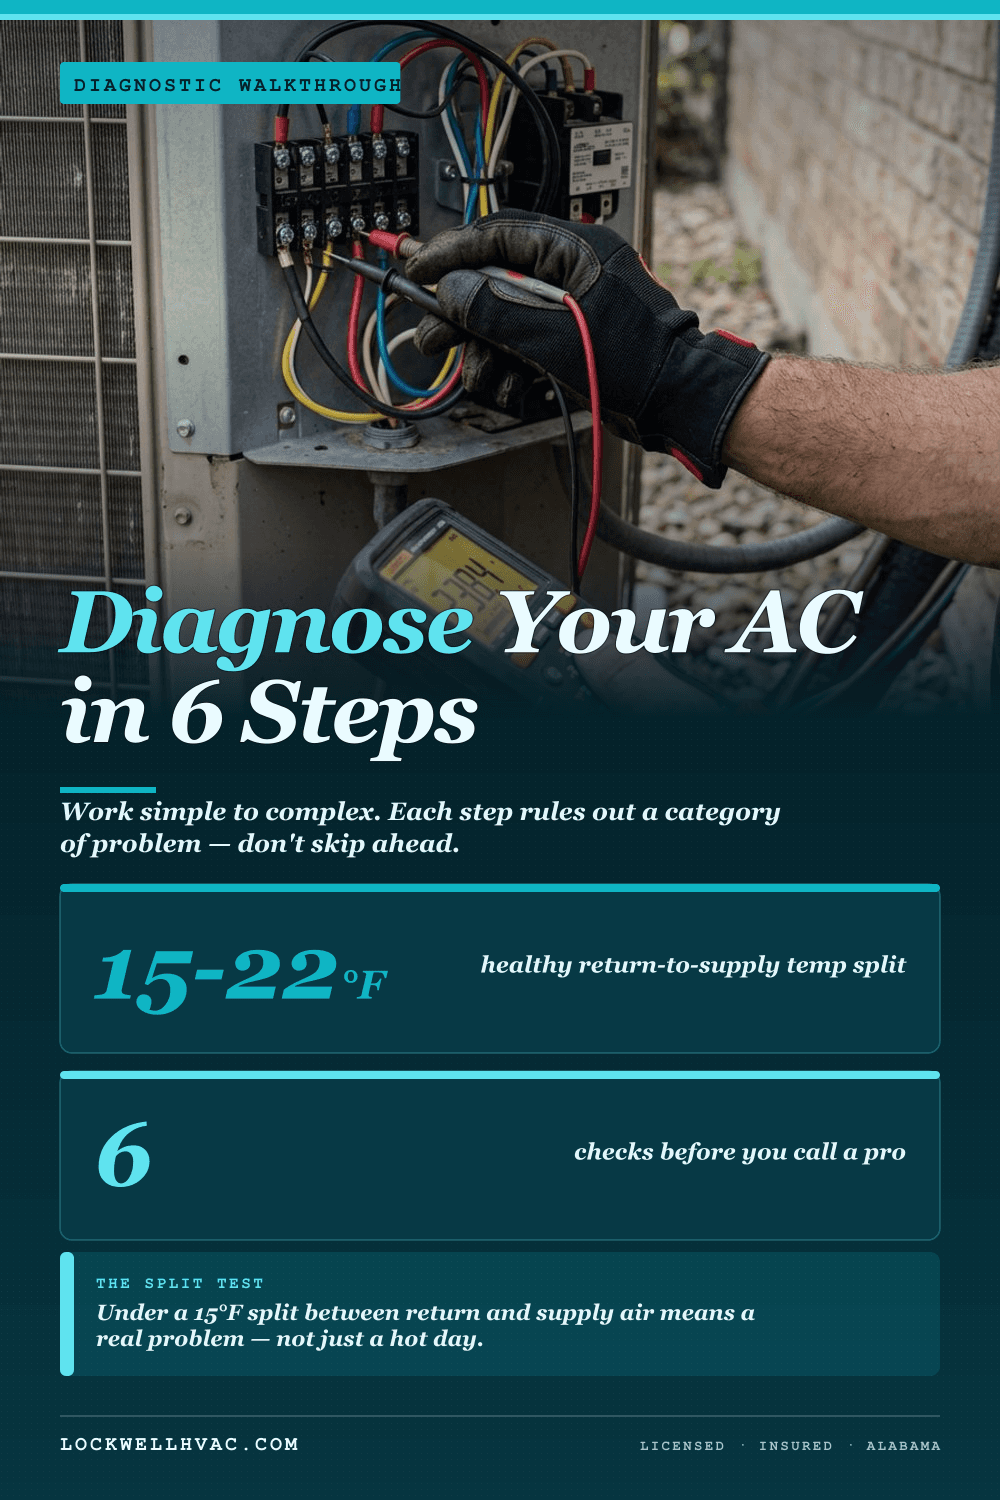
Work from simple to complex: thermostat settings and mode, air filter condition, circuit breaker status, outdoor unit operation, condensate drain, and supply air temperature. These six checks resolve a majority of homeowner-level AC problems without a service call. What remains after these checks is hardware failure that needs a licensed technician.
Why Systematic Diagnosis Saves You Money
Calling an HVAC technician for a tripped breaker or a clogged filter costs you a service call fee for something you could have caught in five minutes. Conversely, spending three hours troubleshooting a refrigerant leak when you don't have gauges and certification to handle refrigerant costs time and doesn't solve the problem.
The goal of this walkthrough is to help you find everything in the first category before calling, so that when you do call, the technician can get right to the actual diagnosis.
Work through these steps in sequence. Do not skip ahead. Each step rules out a category of problem.
Step 1 — Thermostat Check
Before anything else, verify the thermostat is configured correctly.
**Mode:** Set to COOL, not HEAT, not AUTO (if AUTO mode is an option, set it to COOL explicitly for diagnosis purposes).
**Setpoint:** Set 5 degrees below current room temperature. The system should start within 2 to 3 minutes.
**Fan setting:** Set to AUTO, not ON. Fan set to ON runs the blower continuously regardless of whether the system is cooling. If the fan runs but the compressor isn't, the house will feel warm even though air is moving.
**Display:** Is the thermostat powered? A blank display indicates either dead batteries (on battery-powered units) or lost 24V power from the air handler transformer.
**Smart thermostat:** If you have a Nest, Ecobee, or Honeywell smart thermostat, check the app for any error codes or alerts before proceeding. Smart thermostats often display diagnostic information that points directly to the problem.
If the thermostat looks correct and the system doesn't start within 3 minutes of a valid call for cooling, move to Step 2.
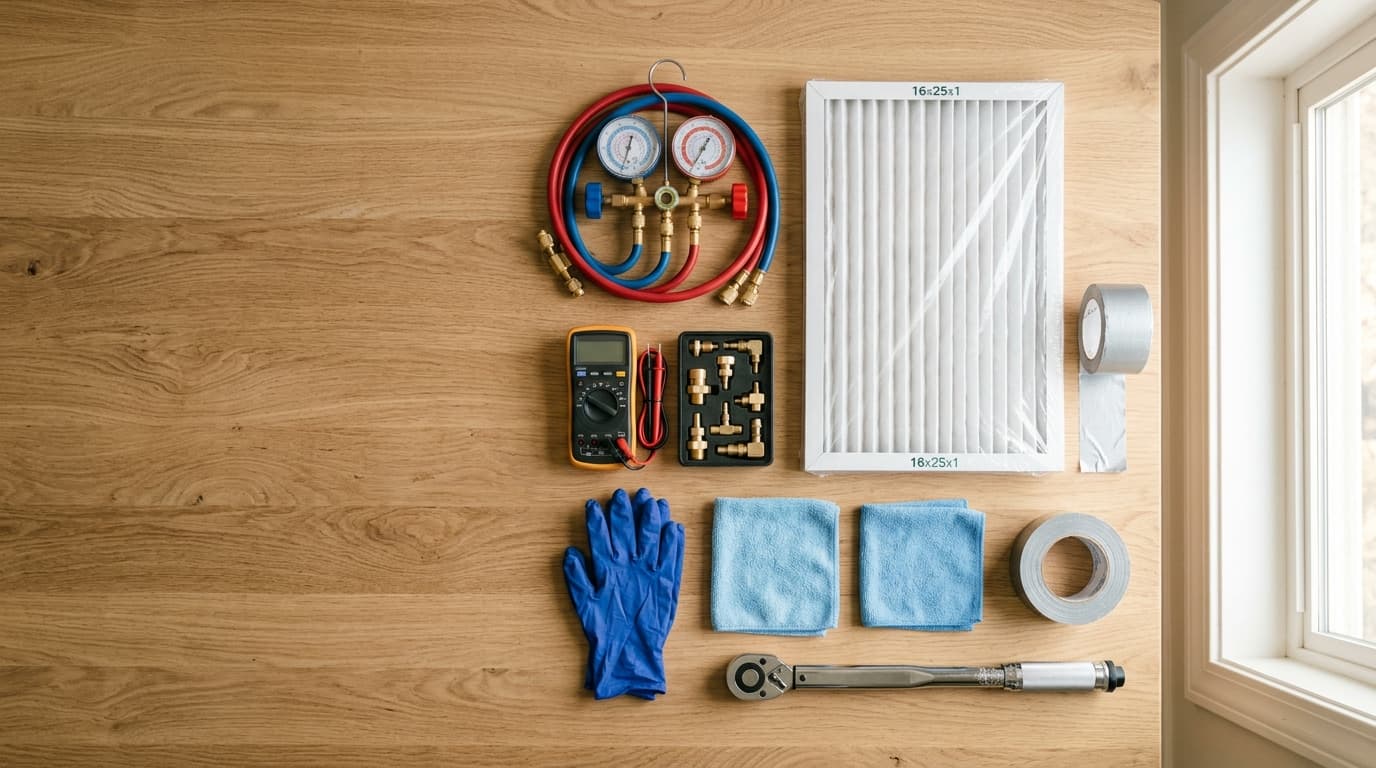
Step 2 — Air Filter Inspection
Go to your return air grille (the large vent that pulls air in, typically in a hallway or central location). Remove the filter.
Hold it up to light. A usable filter lets some light through. A filter that blocks all light is clogged and needs immediate replacement.
A clogged filter: - Restricts airflow across the evaporator coil - Causes the coil to freeze, which blocks airflow further - Can trigger the system's high-limit safety switch, shutting the unit down
Replace the filter even if this isn't the primary problem. Running with a clogged filter compounds whatever other issue exists.
If you find a frozen coil (ice visible on the refrigerant lines coming out of the indoor unit or on the coil itself through an access panel), turn the system to fan-only mode for 30 to 60 minutes to let the ice melt before restarting in cooling mode. For a deeper read on what's actually causing the freeze, see AC freezing up causes and fixes in Alabama.
Check your air filter before every service call. This is the single most common cause of AC performance problems and the easiest fix. If it's gray and matted, it needed changing a month ago.
Step 3 — Electrical Check
Go to your electrical panel.
Find the breaker(s) for the HVAC system. Most homes have two: one for the air handler (typically 15 to 30 amps) and one for the outdoor unit (typically 30 to 50 amps). They may be labeled or may simply be double-pole breakers.
A tripped breaker is slightly different from an OFF breaker — it sits in the middle position between ON and OFF. Reset it by pushing fully to OFF first, then back to ON.
**Important:** Reset a tripped HVAC breaker only once. If it trips again immediately or within minutes of the system starting, stop. Repeated tripping indicates a fault — compressor drawing too much current, a short to ground, or a failed component. Resetting repeatedly risks equipment damage and fire.
Also check the outdoor disconnect. This is a box mounted on the wall near the outdoor unit (required by NEC code). Pull it open — it contains either a cartridge fuse or a pull-out block. If it's a fused disconnect, the fuses can blow independently of your main panel breakers. A blown fuse here shuts down only the outdoor unit while the air handler continues to run, giving you a fan that blows but no cooling.
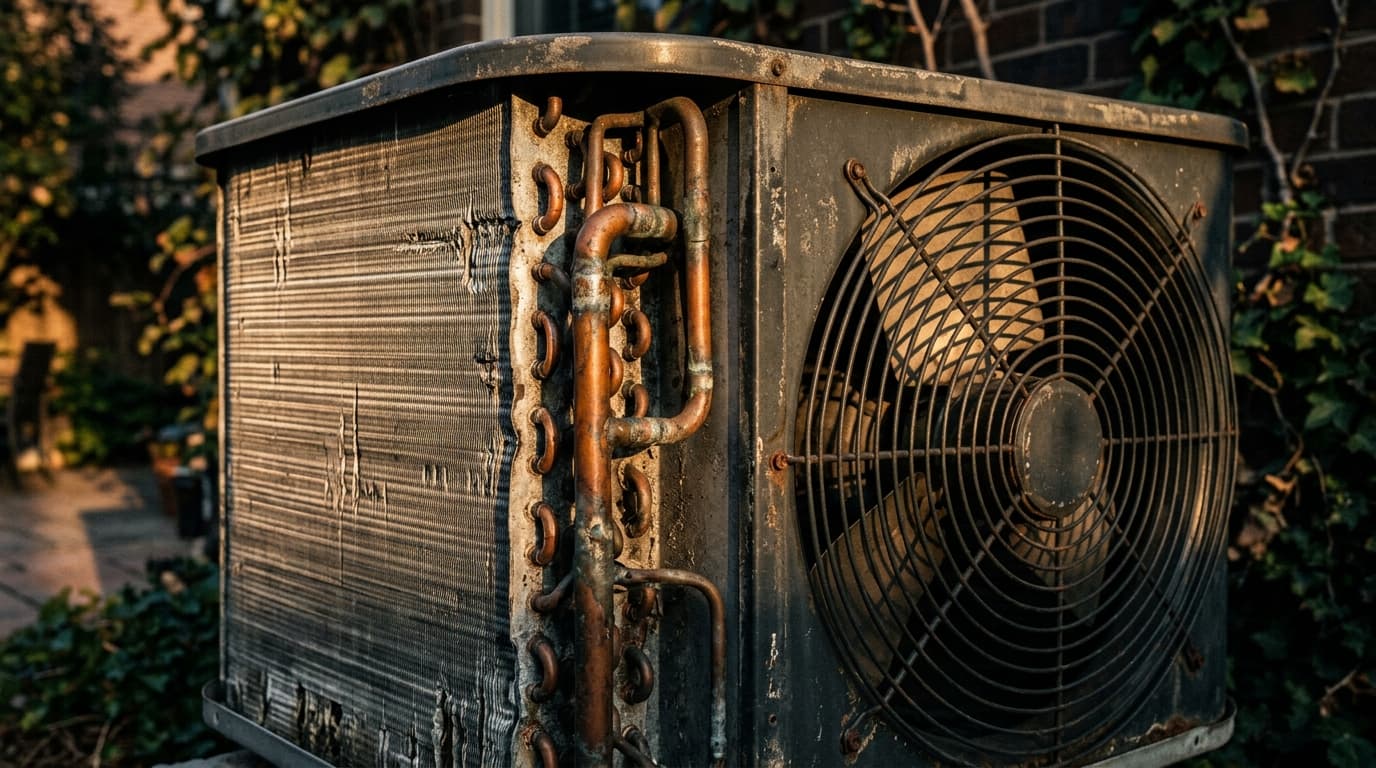
Step 4 — Outdoor Unit Check
Walk outside to the condensing unit. This is the metal box with the fan on top.
**Is the fan running?** When the system is calling for cooling, the fan should be spinning and the compressor (the larger component inside the cabinet) should be running. You can hear and feel the compressor — it vibrates the cabinet.
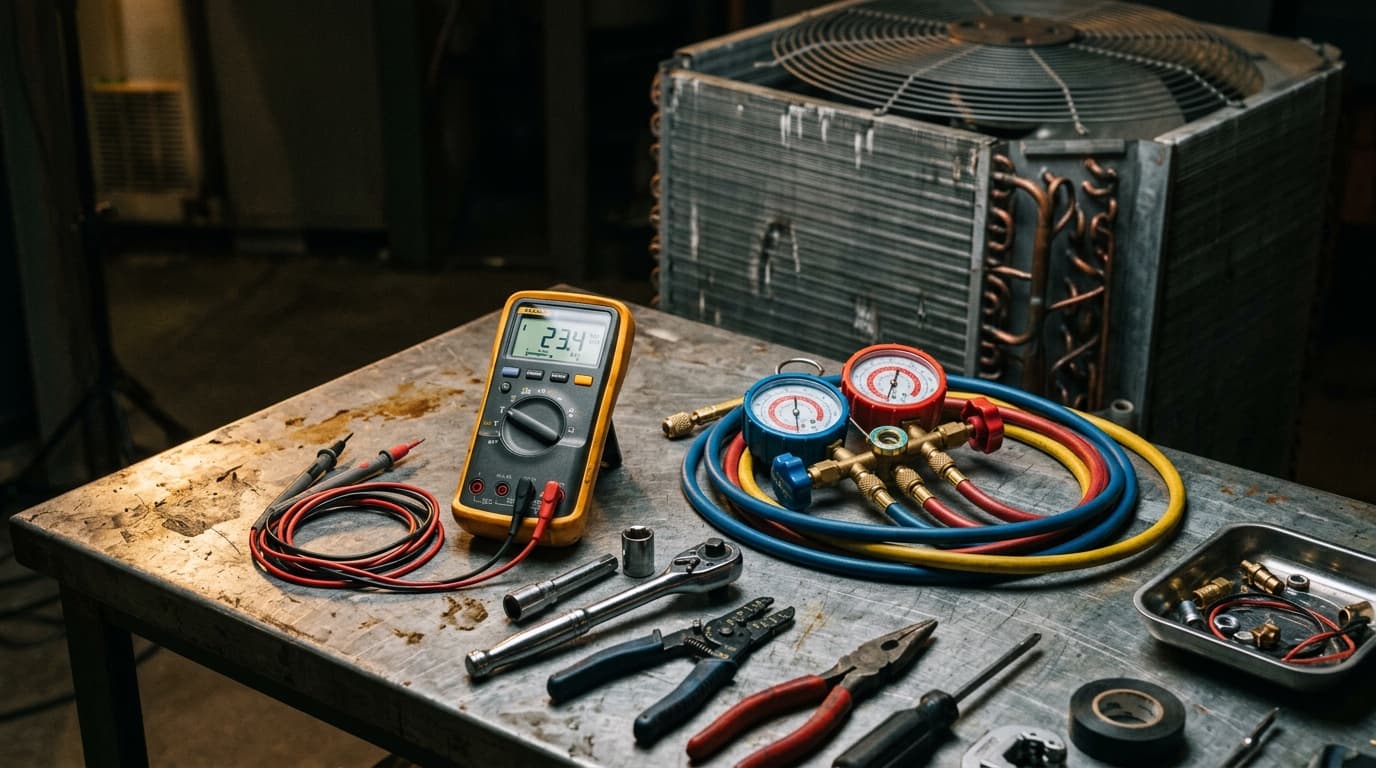
**Fan running, no compressor:** Compressor isn't starting. Common causes: failed capacitor, failed compressor, or contactor not closing. A technician with a multimeter can determine which in minutes.
**No fan, no compressor:** The outdoor unit isn't getting power. Check the disconnect and main breaker again. If power is confirmed and the unit still doesn't start, the contactor may have failed or the control circuit from the thermostat isn't reaching the unit.
**Fan runs briefly then shuts off:** High-pressure lockout or thermal protection cutout. The compressor is overheating or refrigerant pressure is too high. Turn the system off and call.
**Abnormal sounds:** Grinding or clanking indicates mechanical failure inside the compressor. Hissing or gurgling at the refrigerant lines may indicate a refrigerant leak. Screeching from the outdoor fan indicates a bearing failure.
Do not open the outdoor unit's electrical panel while the system is powered unless you are trained to work with line voltage equipment.
Step 5 — Condensate Drain Check
Go to the indoor air handler (in a closet, utility room, attic, or basement depending on your home's layout).
Look for the condensate drain pan under the evaporator coil. It should be empty or nearly empty during normal operation. If it has standing water, the condensate drain is blocked.
A blocked condensate drain activates the float switch on most systems — this is a safety device that shuts the system down to prevent water overflow damage. If the pan is full and the system won't run, clearing the drain restores operation.
The condensate drain line exits the air handler and terminates either outside the house, at a floor drain, or at a standpipe. Pour a cup of water into the drain pan. If it drains, the blockage is cleared. If it doesn't drain, flush the drain line with a wet/dry vacuum at the exterior termination or use a thin wire or compressed air to clear an accessible clog near the air handler.
A condensate drain tablet dropped in the pan monthly prevents algae buildup — the most common cause of clogs in Birmingham's warm, humid climate.
Step 6 — Supply Air Temperature Check
If the system is running but not cooling effectively, measure the supply air temperature.
Use a meat thermometer or an inexpensive infrared thermometer pointed into a supply register near the air handler. Compare to the return air temperature at the filter grille.
A properly functioning air conditioner produces a temperature difference (delta-T) of 15 to 22°F between return and supply air under normal operating conditions, per ACCA Manual S standards. Less than 15°F split indicates a problem — frozen coil, low refrigerant, dirty coil, or failing compressor.
More than 22°F split is unusual and may indicate low airflow (a separate problem from insufficient cooling).
If the delta-T is in range but the house still isn't comfortable, the problem may be duct leakage, an undersized system, or building envelope issues rather than a failed component.
What Remains After These Six Steps
If you've checked all six items and the system either doesn't run or runs without adequate cooling, you're dealing with hardware failure that requires professional diagnosis:
- Capacitor failure (most common) - Refrigerant leak (requires certified technician and leak detection equipment) - Compressor failure (requires electrical testing and pressure measurement) - Control board failure - Reversing valve failure (heat pumps only) - Significant duct leakage (requires duct blaster test)
Per ACCA and DOE standards, refrigerant work requires EPA Section 608 certification. Electrical diagnosis inside the outdoor unit involves line voltage that is dangerous without proper training. These are not homeowner DIY items — they're the reason HVAC technicians are trained and licensed.
Need HVAC service in the Birmingham area?
Available 24/7. Licensed and insured. Written estimates before work begins.
Call (205) 206-7030Frequently Asked Questions
Visual Guide
Compiled by the HVAC technicians at Lockwell HVAC in Gardendale, Alabama. The troubleshooting steps here are the same ones we walk through on residential service calls across North Birmingham, written so a homeowner can rule out the simple causes before deciding whether a system needs a technician.
- U.S. Department of Energy — Energy efficiency and maintenance guidelines
- ENERGY STAR — Thermostat and installation efficiency standards
- ASHRAE — Coil cleaning and maintenance guidelines
- ACCA — Manual J load calculation standards and equipment lifespan data
- U.S. EPA — Refrigerant regulations and indoor air quality guidance
- NFPA — Electrical safety and fire prevention
- CPSC — Carbon monoxide safety data
- NADCA — Duct cleaning standards
Bookmark this page for reference. Share it with a neighbor who might find it useful. If you have questions about anything covered here, call us directly — a real person answers, not a recording.
Read Next